This guide assumes you’ve already created an account and have access to the
app.
1. Create a Channel
Go to the settings page, then select “Channels” from the left hand navigation bar. This page will display all of your organization’s channels, but first we’ll have to create one! Select “Add New” to get started.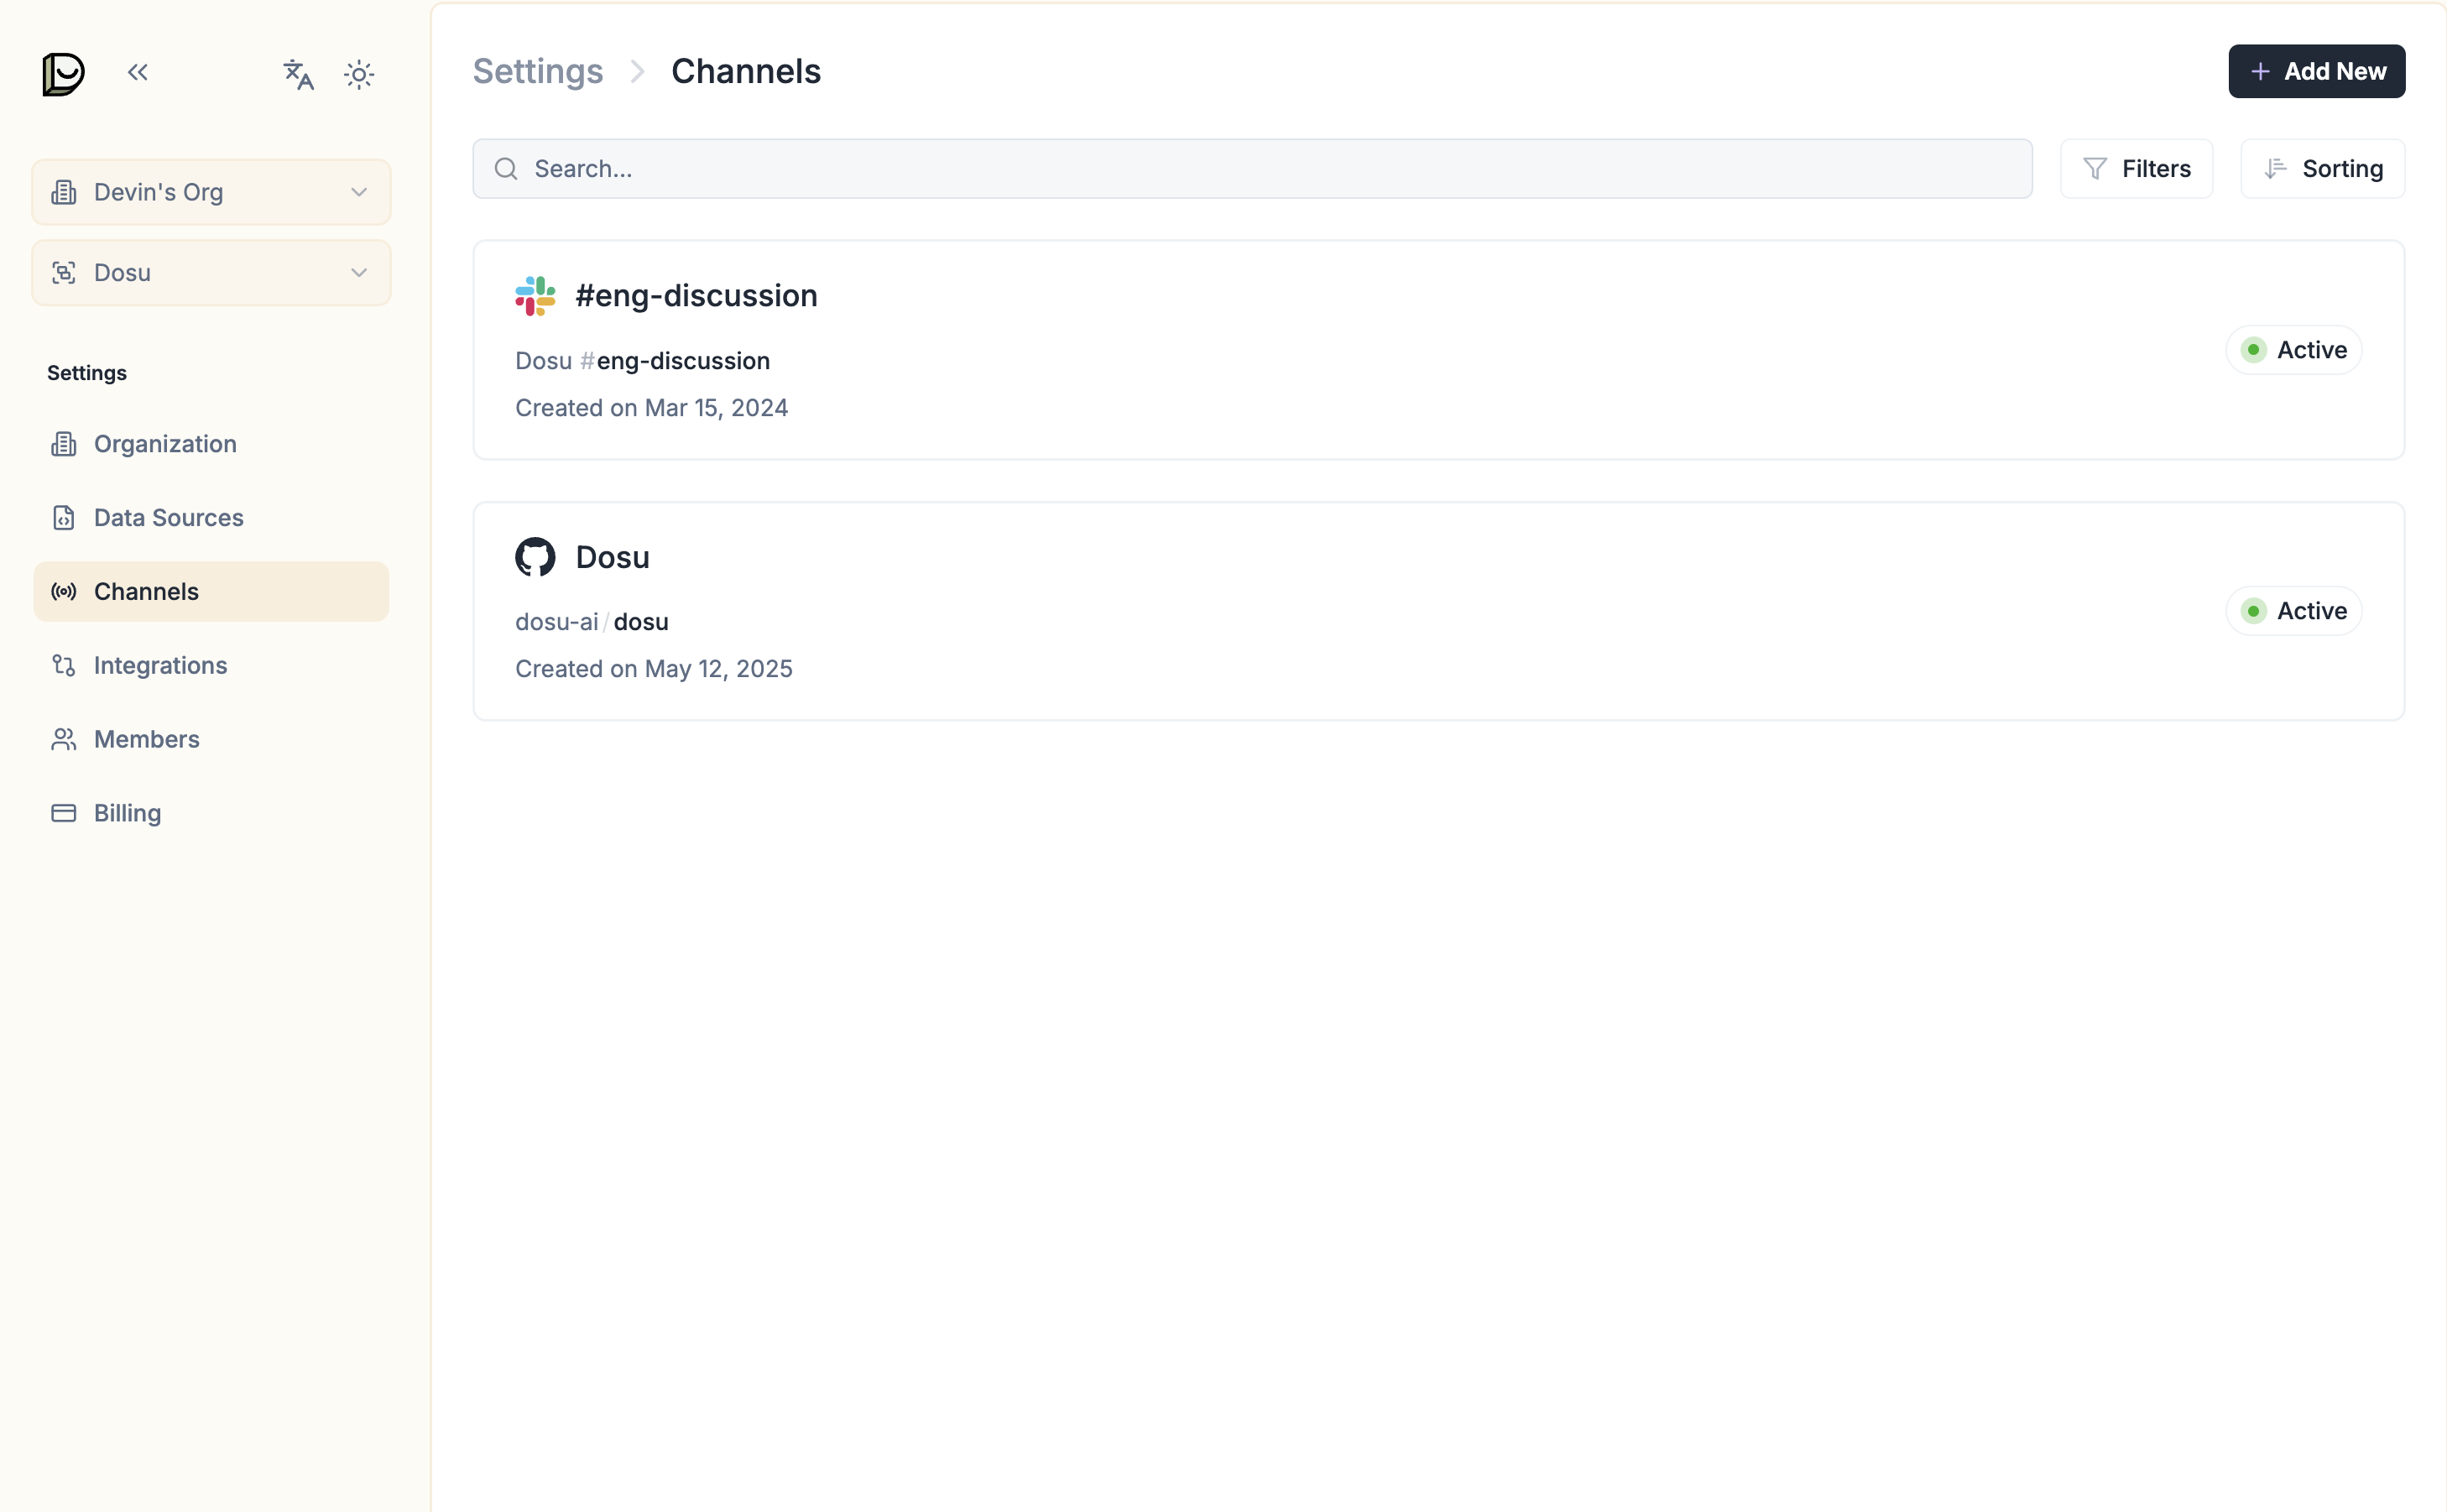
2. Deployment Mode
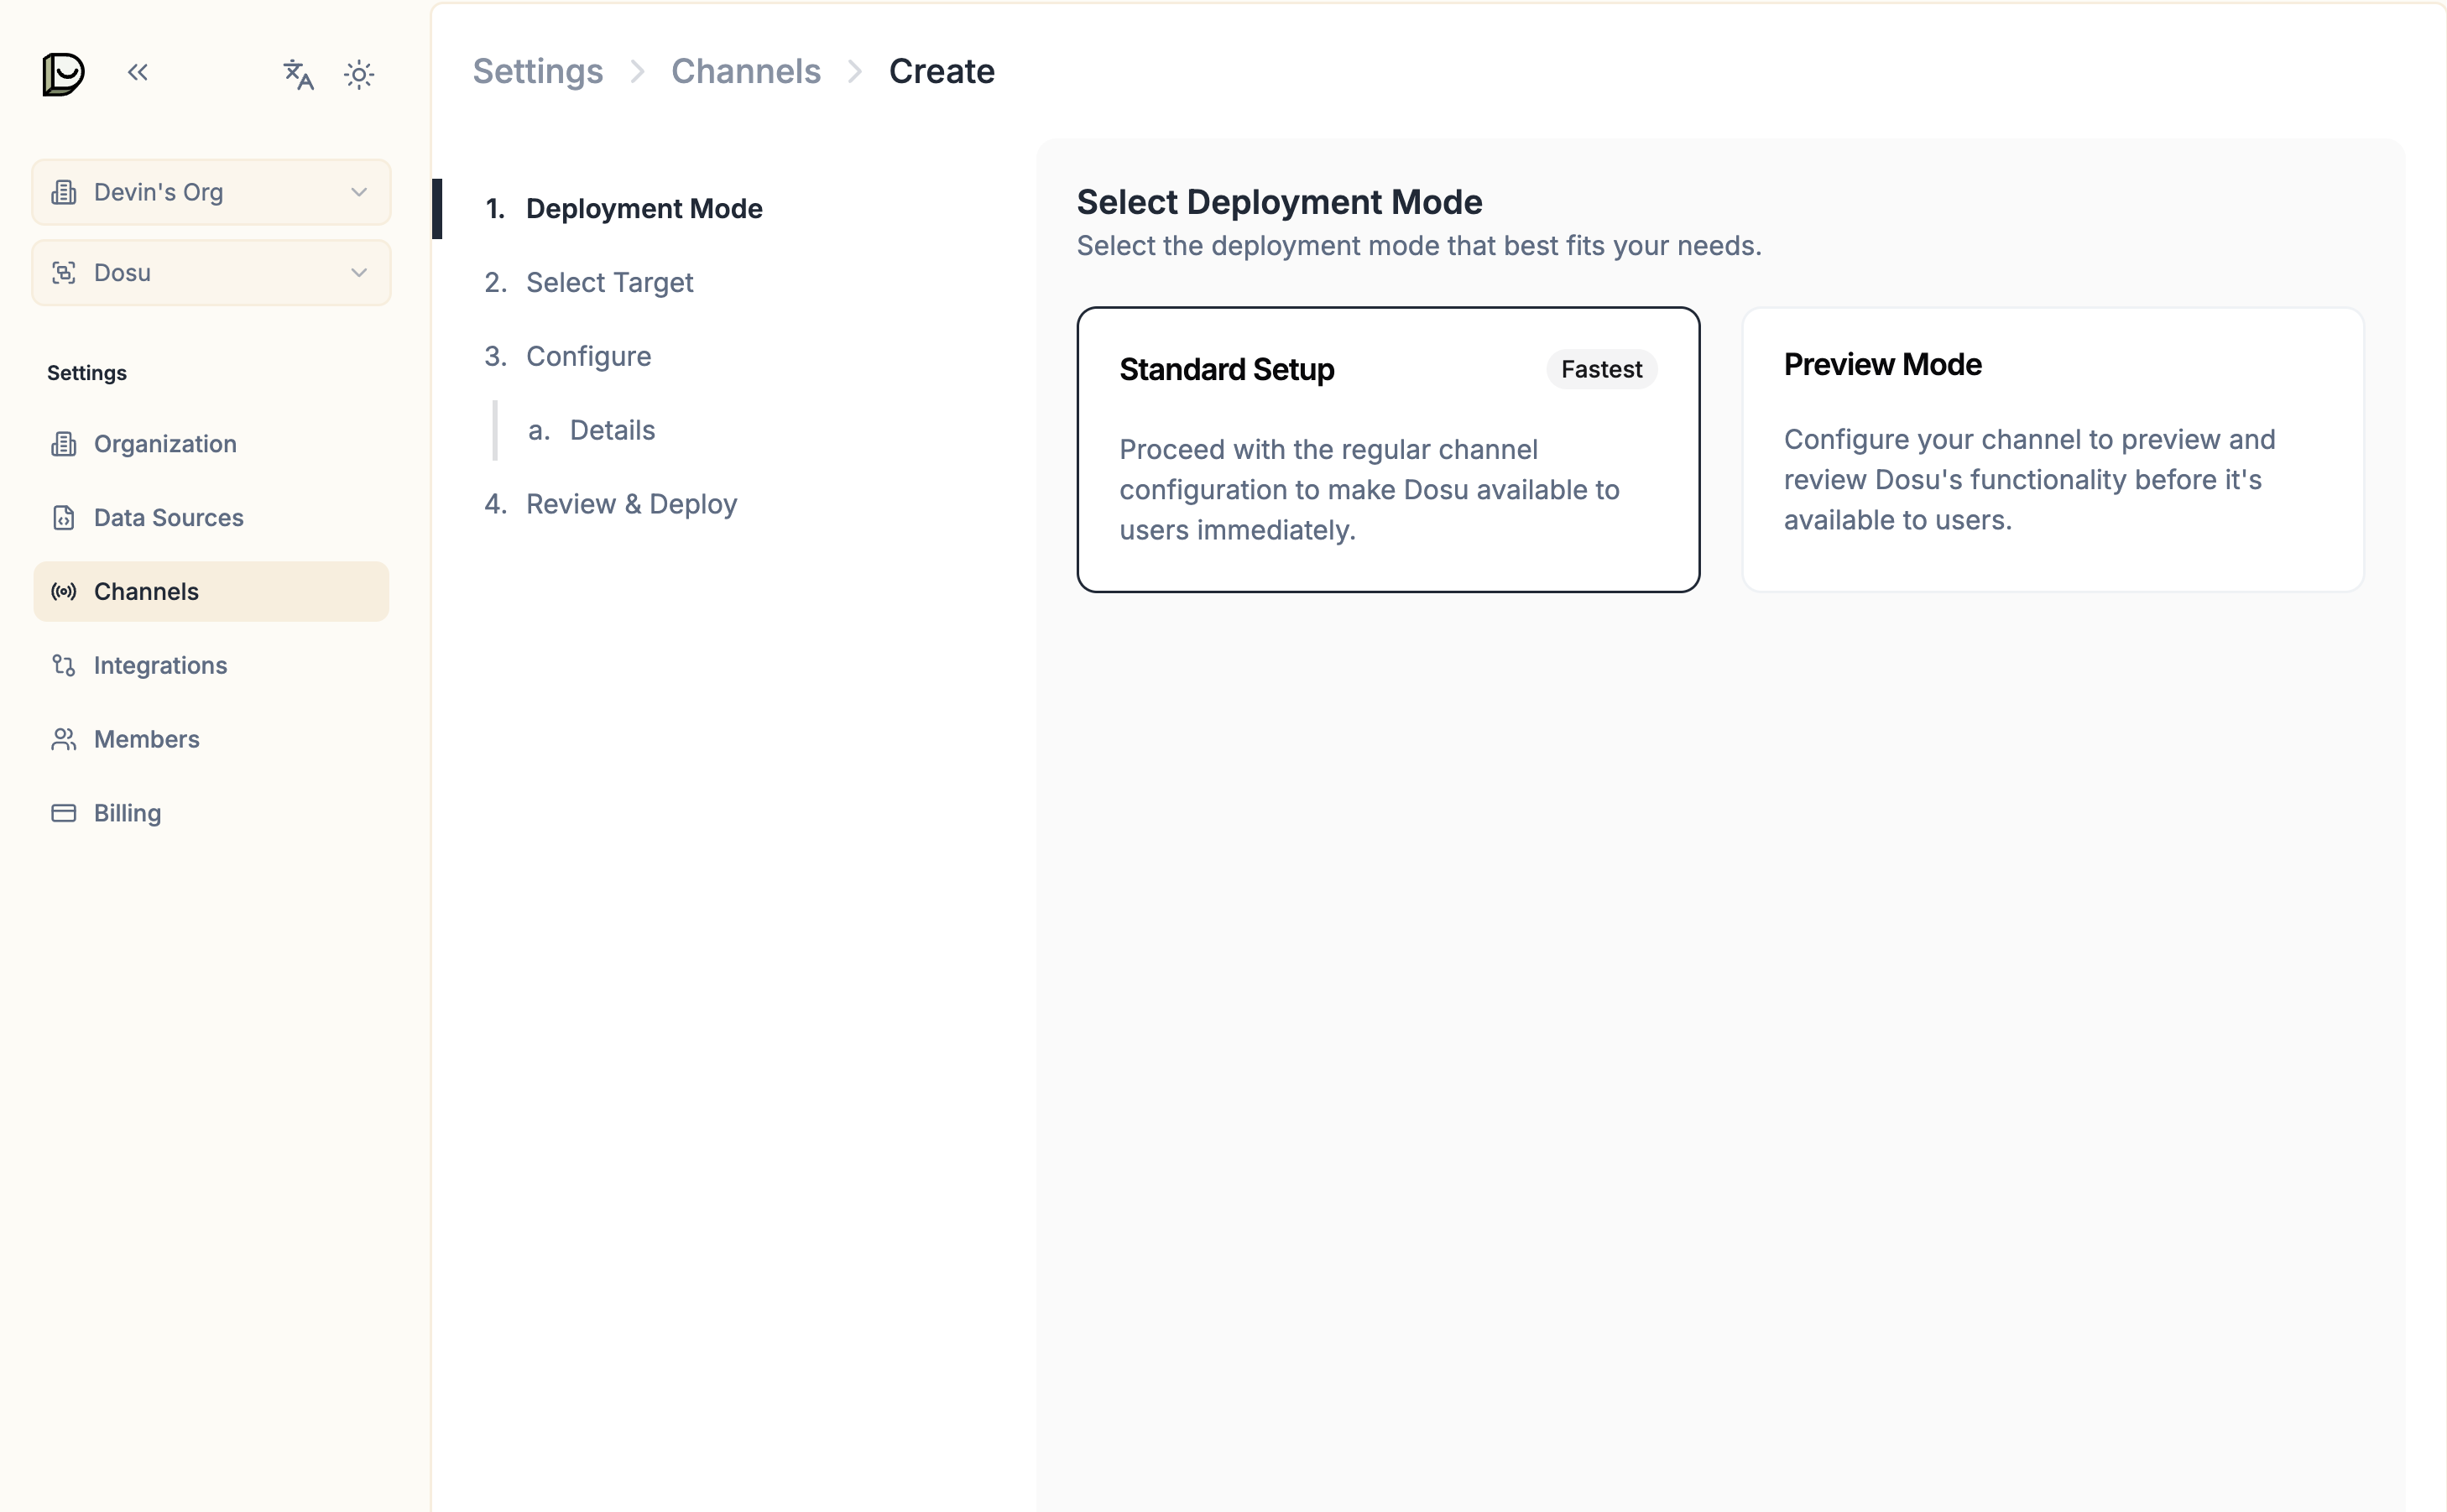
You’ll be prompted to select a deployment mode for the channel. Your options are:- Standard Setup: This gives you full control over the channels’s configuration and allows you to customize the channel to your needs.
- Preview Mode: This is the quickest way to test Dosu out without any user-facing impact. It will create a channel that with all user-facing features disabled, but will generate new preview response for you to review within the app.
2. Select Target
Now you’ll choose the channel location where you want Dosu to be active. If you don’t see your GitHub repository listed here, it may be because you haven’t installed the Dosu GitHub app on your account or organization yet.3. Configure
The configuration step allows you to to customize how Dosu will behave on the channel. Each setting has a short explanation of what it does in the UI, but for a more detailed explanation of each setting, see the GitHub Channel Configuration page.4. Review & Deploy
Once you’re through the configuration steps you should see a final page where you can review the setup. If everything looks good, selectCreate Channel to create the channel.
Congratulations! You’ve finished creating your first channel.
You should now see your channel on the Channels page.
6. Interact with Dosu
Now that you’ve created a channel, you can interact with Dosu in the target repository. You can either generate response previews on the Review page or you can interact with Dosu by mentioning (@dosu) on an issue in the target repository.